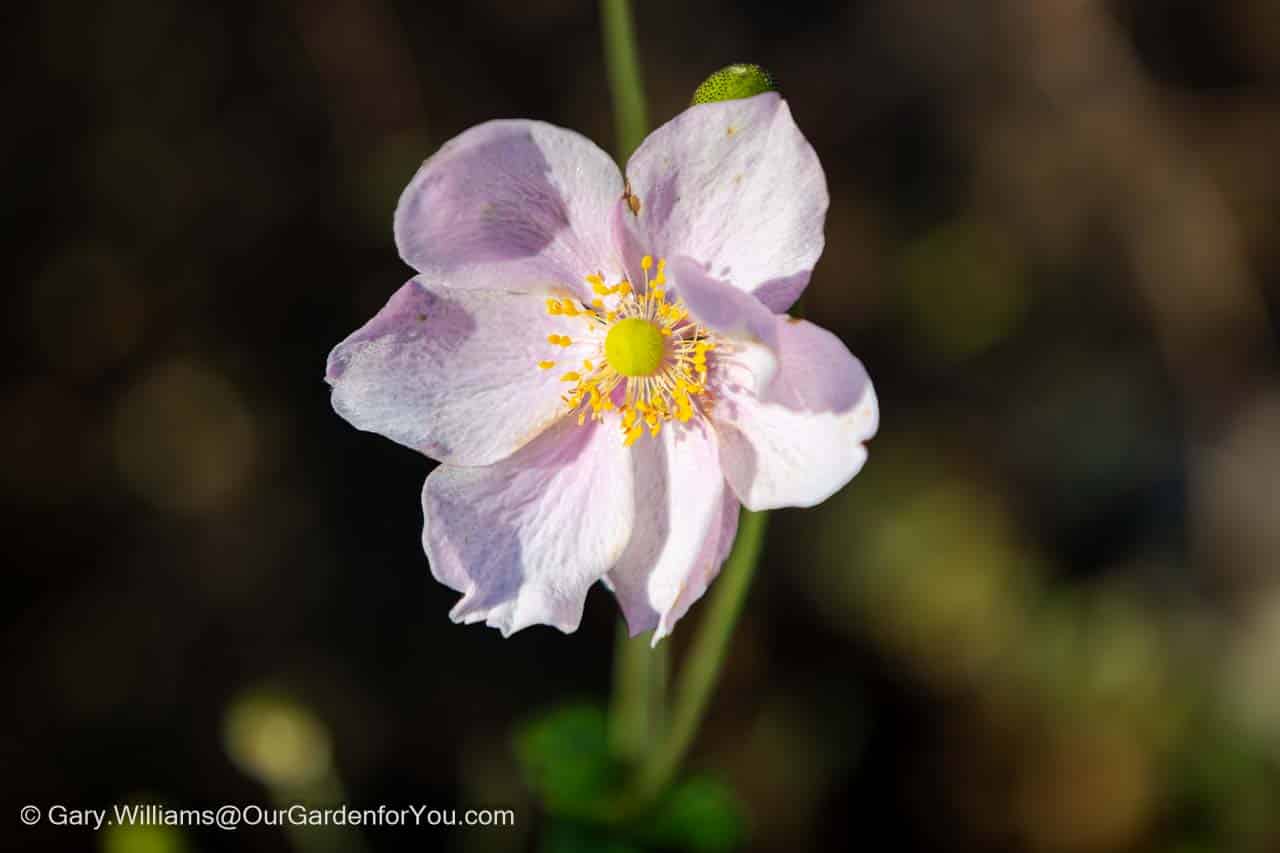
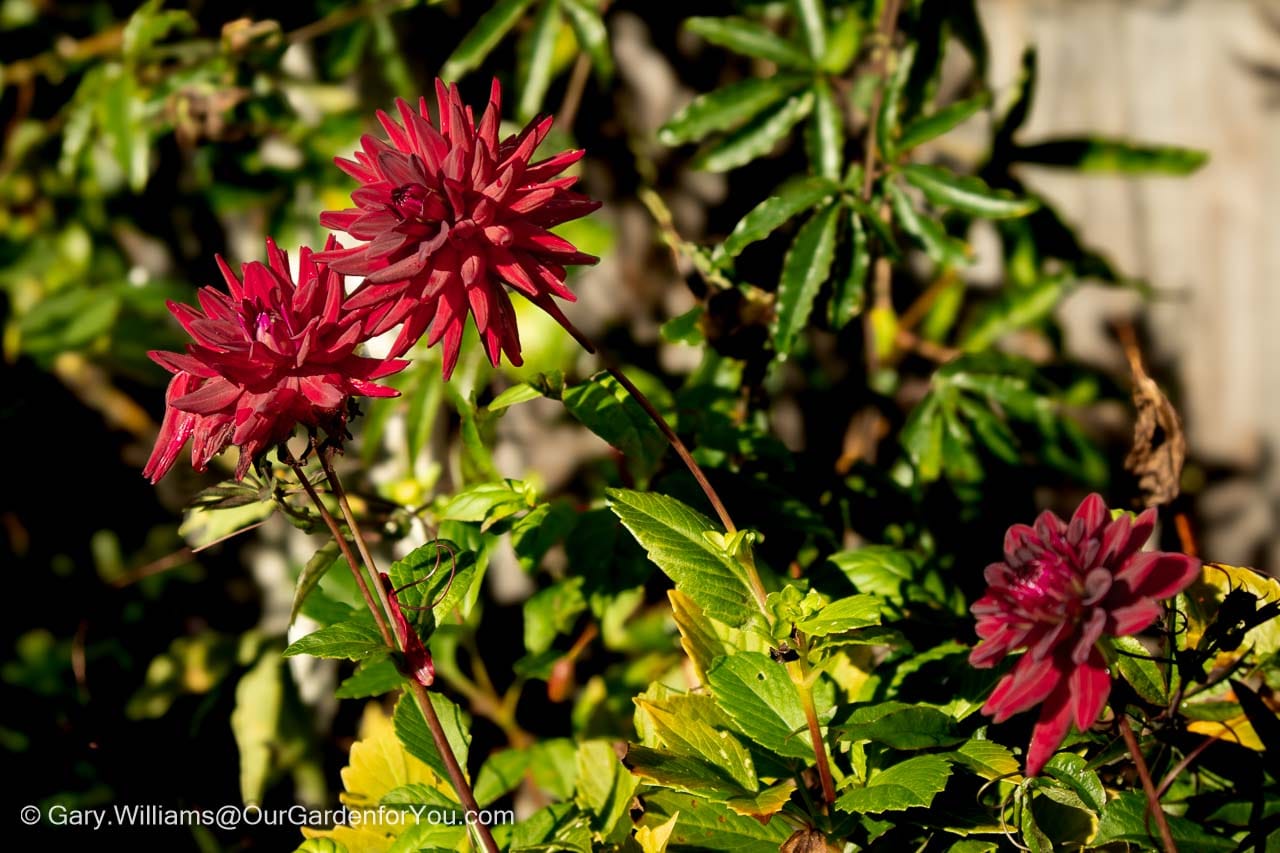
The hours just disappear
Now that my potting shed has been re-organised and relatively tidy, it’s time to start sowing my seeds for some summer colour in our English country garden. I love sowing seeds; it’s very therapeutic and quite calming.
As usual, I always go overboard and buy far too many. The problem is that when you see all the different varieties and the swathes of eye-catching colours, it’s so difficult not to buy them.
The other issue is that once they start to grow and their tiny little heads break through the soil, I want to nurture them all. I know that I should be more ruthless and thin them out or just plant a few of each or even just pot on the stronger ones, but I feel guilty.
Although what I must say in my defence, some packets of seeds don’t just have a few seeds or even 10, 20 or 30; some packs have thousands. They are such tiny seeds that you can’t separate them, and then I end up sowing way too many.
Creating a nourishing compost
Do you use seed trays or pots?There are many different combinations of compost on the market; in the past, I have used compost, especially for seedlings. However, I have found that using peat-free multi-purpose compost mixed with vermiculite or perlite works as well. The seedlings germinate very healthily, I also sieve the compost that nestles on the top of the seeds, so it is a very fine layer for them to grow through.
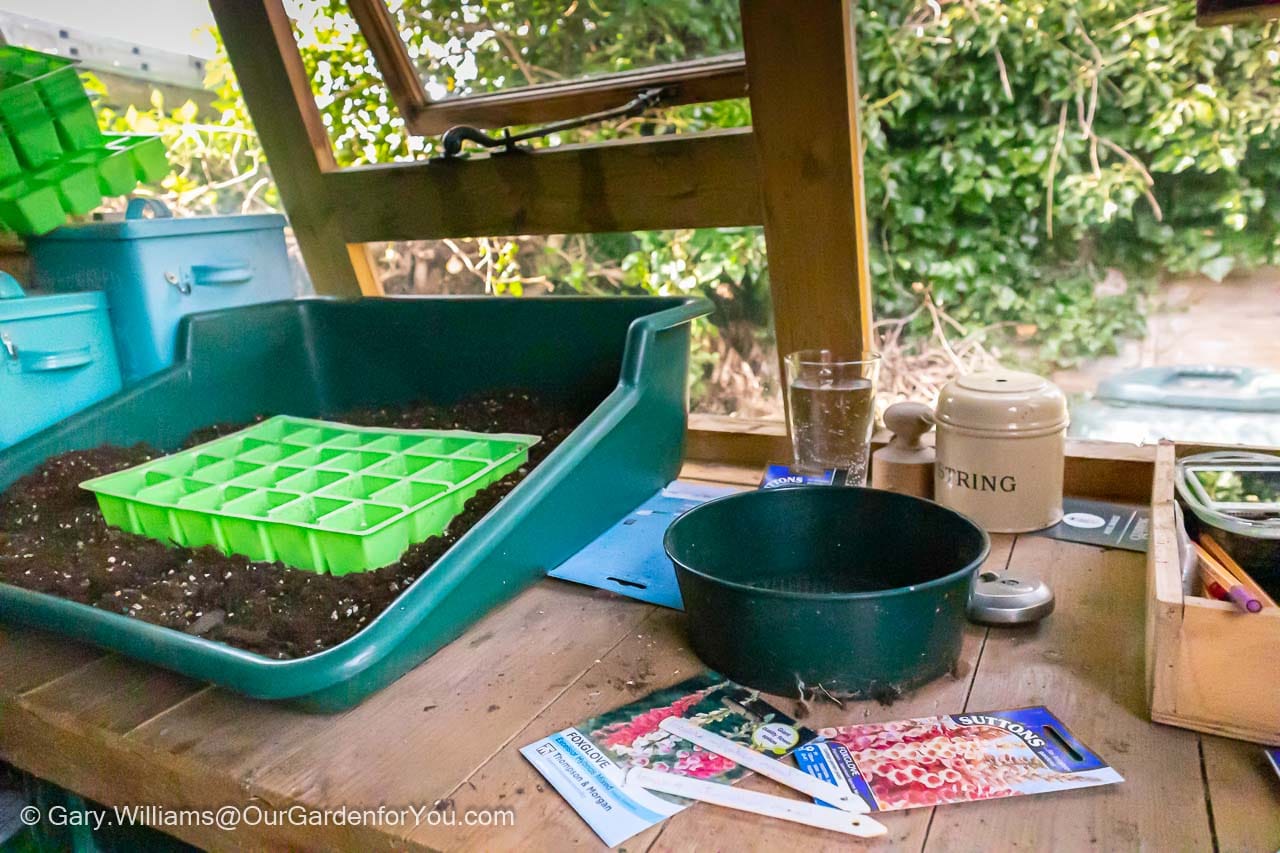
As I have the space in my potting shed, I use a potting tray to blend up my compost mixture and fill up my propagation trays. I find it ideal as it keeps down the mess, and you can easily fill up your seed trays and pots within it.
I use a combination of propagating methods, including cell seeding trays, deep root trainers and individual pots. As the seeds grow stronger, I then transfer them into larger pots. This year, I’ve also bought some biodegradable pots, which should be a good trial. A tip that I’ve also seen, and one I’m going to give a whirl, is using the cardboard tube from a toilet roll.
I still have quite a few seeds from previous years’ sowing, which are now out of date. It’ll be a good experiment to see if they come to fruition. Watch this space.
Pinterest?
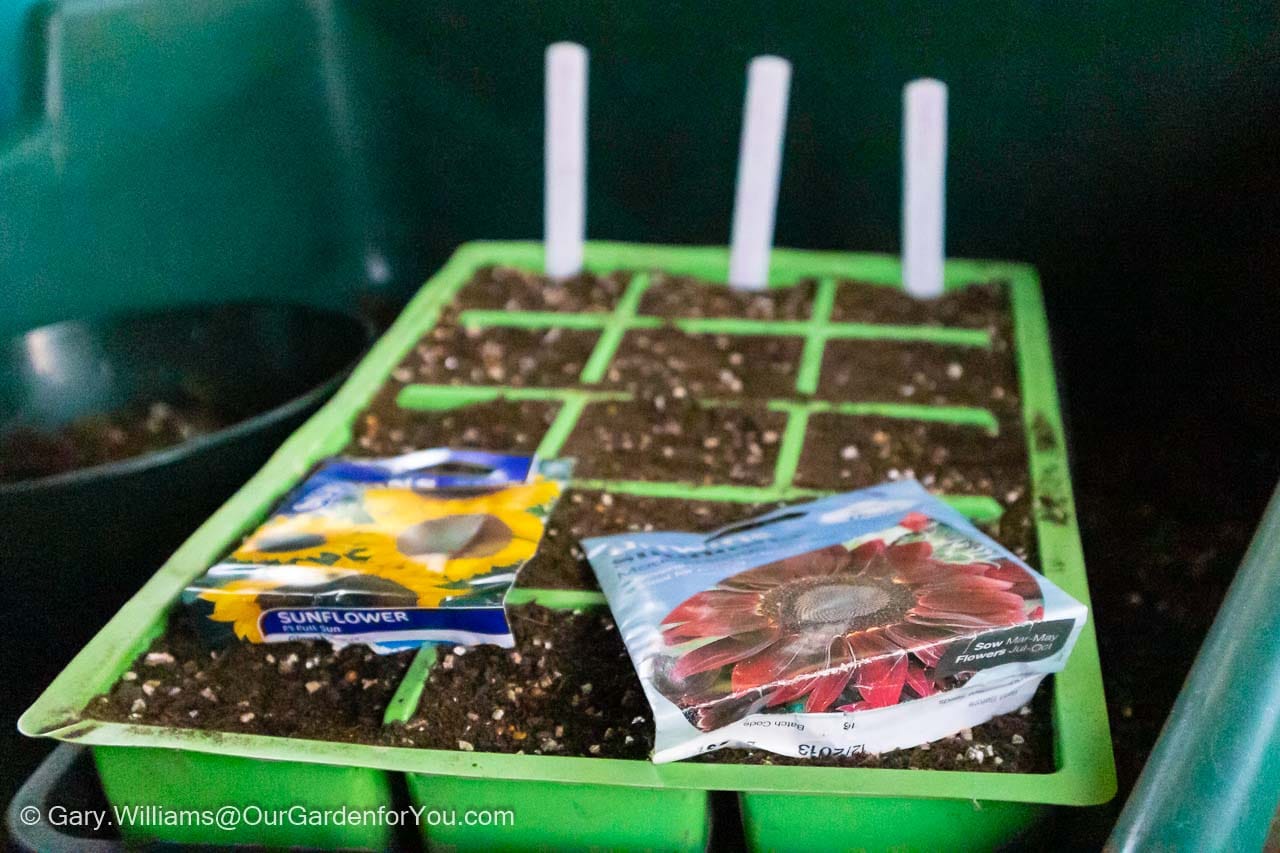
Labelling my seeds
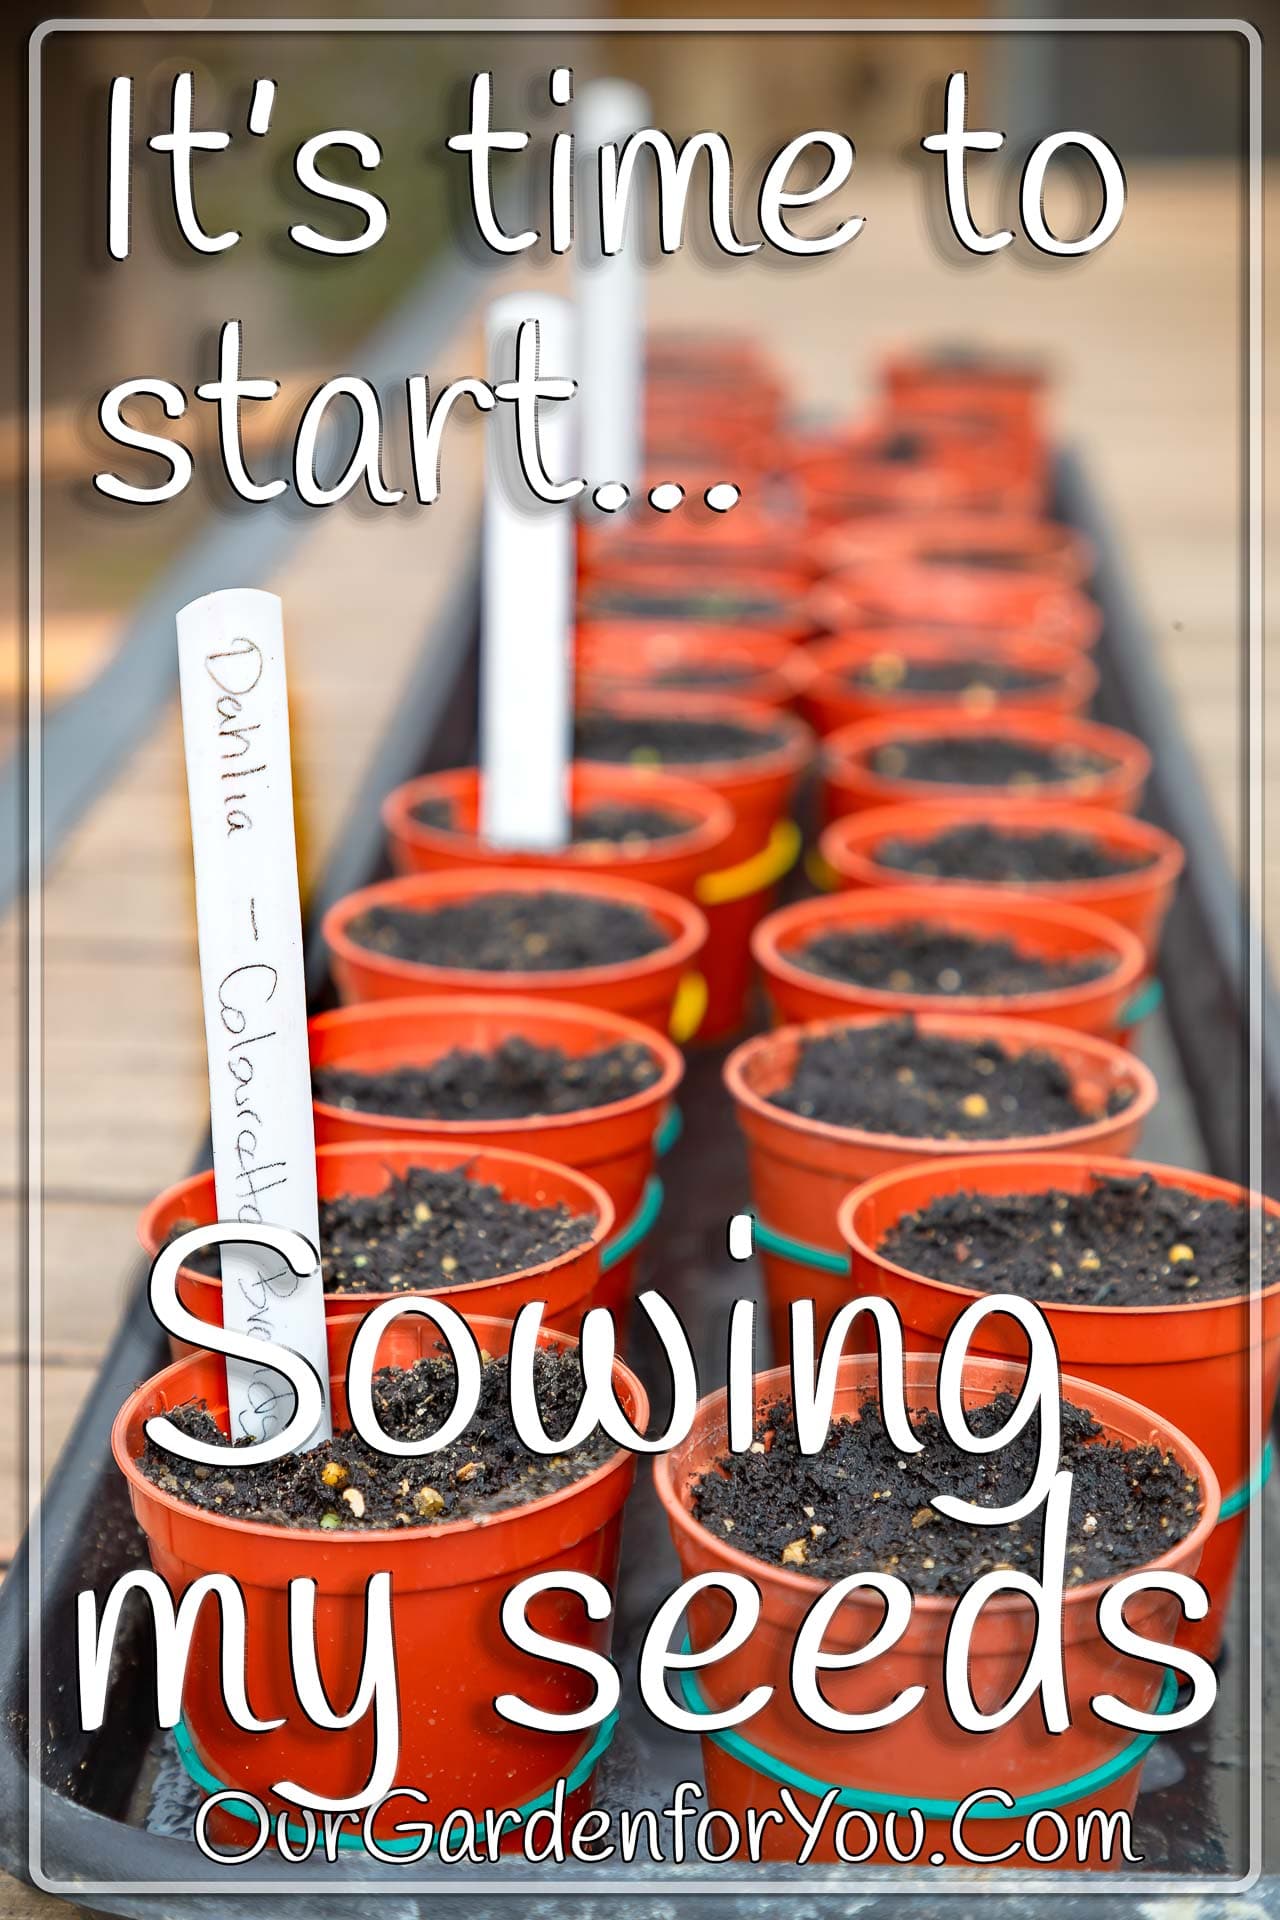
It could be a revelationNow, I don’t know if you are the same as me. Still, as I like sowing many different varieties of plants, I often propagate a combination in one seed tray and label the cells in rows. This can become a bit onerous if you use individual pots. You certainly don’t want to write a label out for every container, so you’ll end up with RSI.
Well, here’s my tip – Firstly, it involves purchasing a cheap bag of mixed coloured elastic bands. If you place a label in one pot and wrap an elastic band around it, and then every other pot that contains that variety of seed, put the same colour band around them, et voila! You’ll then be able to identify them.
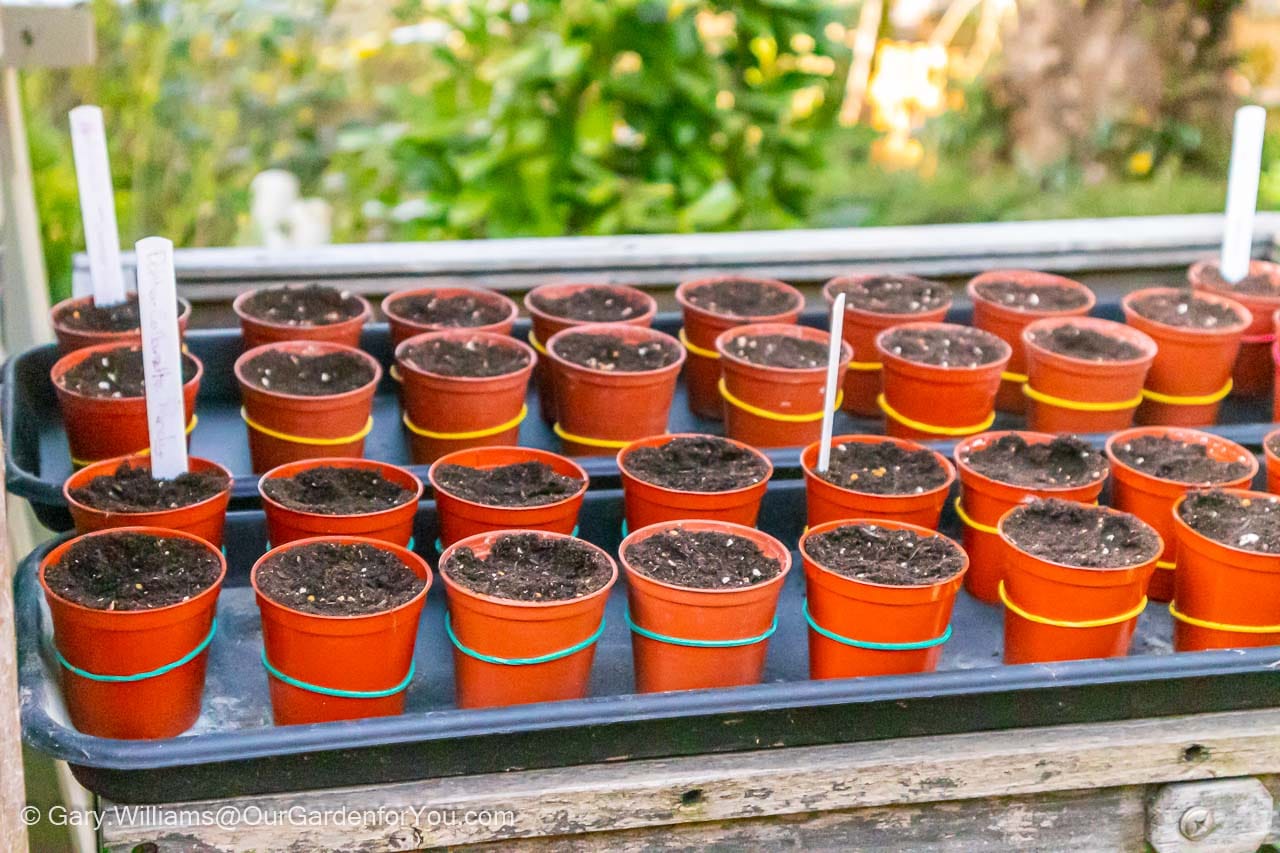
My next tip or piece of guidance is ensuring you use a permanent marker when labelling your seeds; I found this out to my detriment. After sowing my seeds, I wanted to ensure they were sufficiently watered, so I laid them on the lawn and used a delicate setting on the hosepipe. Yes, you can see where this is heading, and the names of the seeds washed off.
Luckily, I did a couple of trays at a time, so I only had to deduce the smeared ink from a few labels. It was extremely frustrating, but hey, you live and learn.
Finding that perfect spot
It’s now a waiting game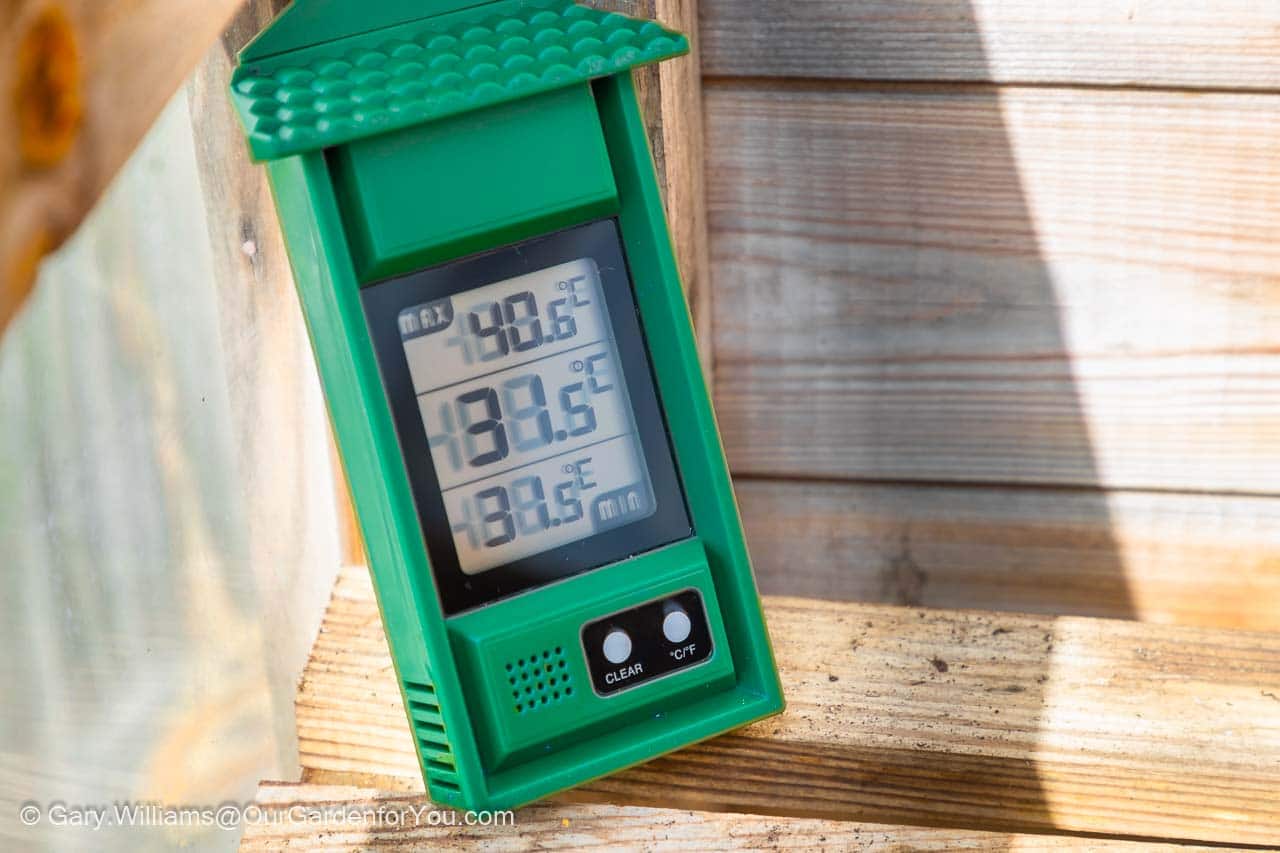
I’ve just splashed out on a digital thermometer for conservatories and greenhouses. The digital thermometer displays the current temperature, and the maximum and minimum reached. I’ve placed it in the conservatory at the moment so I can get an indication of temperature, and it’ll help me understand when I can move the seedlings to the cold frame.
Now it’s a waiting game; I wonder if I should play some classical music to them, you never know, it may help them along.
* This post may contain links to affiliated sites where we earn a small commission at no additional charge to you.

