by Gary on 15th July 2022 / 0 comments
Why do we need an irrigation system on our patio?
The simple reason is travel. As you may know, our other passion is to explore the world both near and far, and you can find our exploits on OurWorldforYou.Com
Even a few days away from home, in the height of summer, will not be kind to our courtyard patio. The worse offenders are our tomato plants that nestle next to the herb garden. In total, there are over 50 pots on the courtyard patio, and that number appears to keep rising.
When we are at home, it is a pleasure of an evening to wander and water, filling the watering cans from our oak water butt. So the irrigation system will be a stop-gap for those trips away. Or will it?
Pinterest?
Why not Pin it for later?
How easy is it to install an irrigation system?
It's easier than you thinkFor the sake of clarity, I will be focusing on the Hozelock solution that is available.
Time for a little honesty, too; we have some previous experience with home irrigation, setting up a similar system in the noughties. We had a few timers, piping and water feeds. The old system was removed when the new patio was laid in 2011, and we never got around to replacing it.
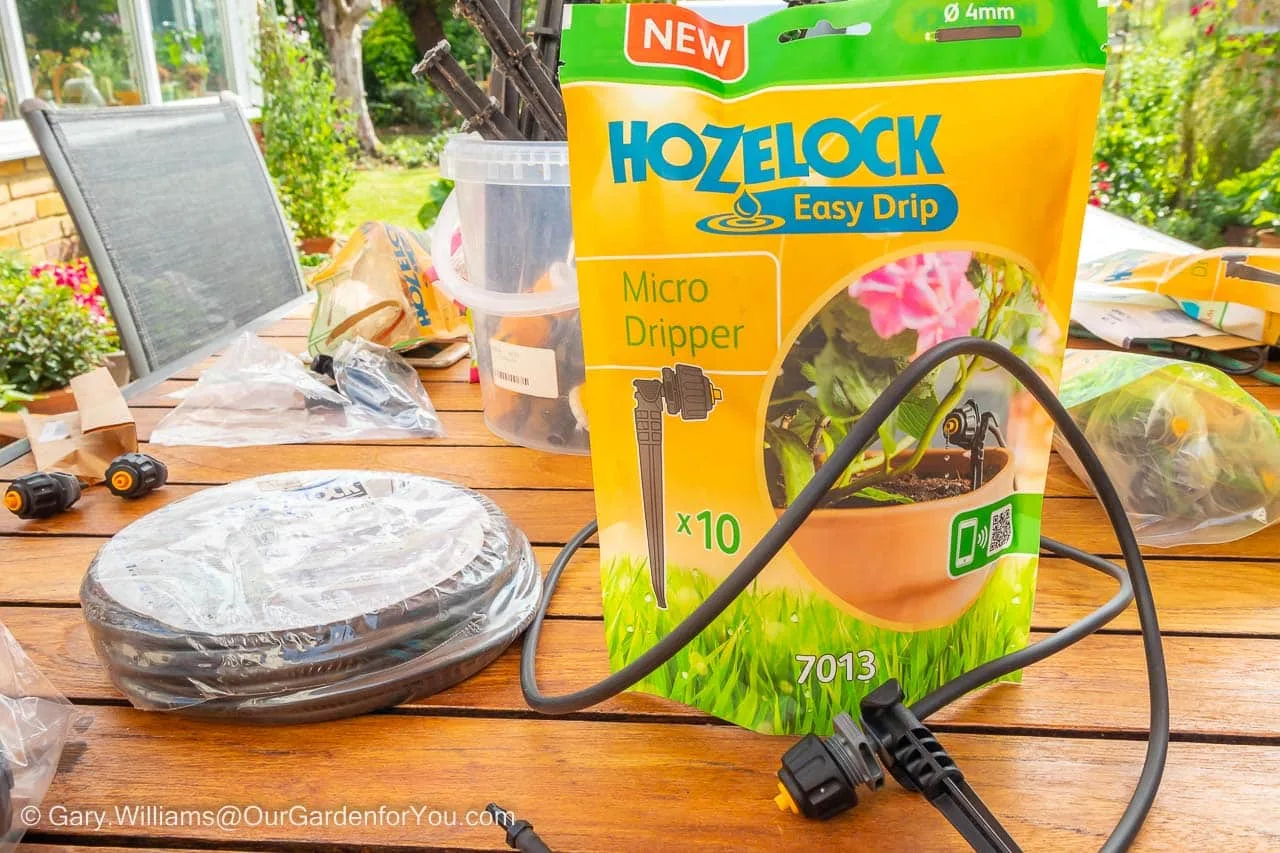
Home irrigation components
A second confession, this was a little bit of a rush job, a trip to Bath suddenly appeared, and we have just over a week to install our solution.
How does a home irrigation system work?
It really is not rocket science - honest!In reality, you are creating a low-pressure loop, fed off an external water supply using a 13mm supply tube. From this loop, you attach a 4mm micro tube to individual drippers and sprinklers to deliver the water to your plants.
The Pressure Regulator
You can create a manual system, where you just turn on a tap whenever you want and turn it off when you are finished, or an automatic system, where you attach a timer to control the water flow.
So, in summary, there are just four components you need to worry about. The next step is to plan your system
Planning your home irrigation system
The key to your successSo the things you are going to need are;
An external water supply, a simple brass tap with a hose fitting is ideal. Here we hit our first problem. We only have one external tap, and it is on the opposite side of our conservatory that marks the boundary to the courtyard. Plus, we have a water softener attached to our internal water supply. This means we cannot add an additional tap on the patio fed off our internal water supply. The softened water contains sodium, which will kill off the plants. So I need to use the existing source.
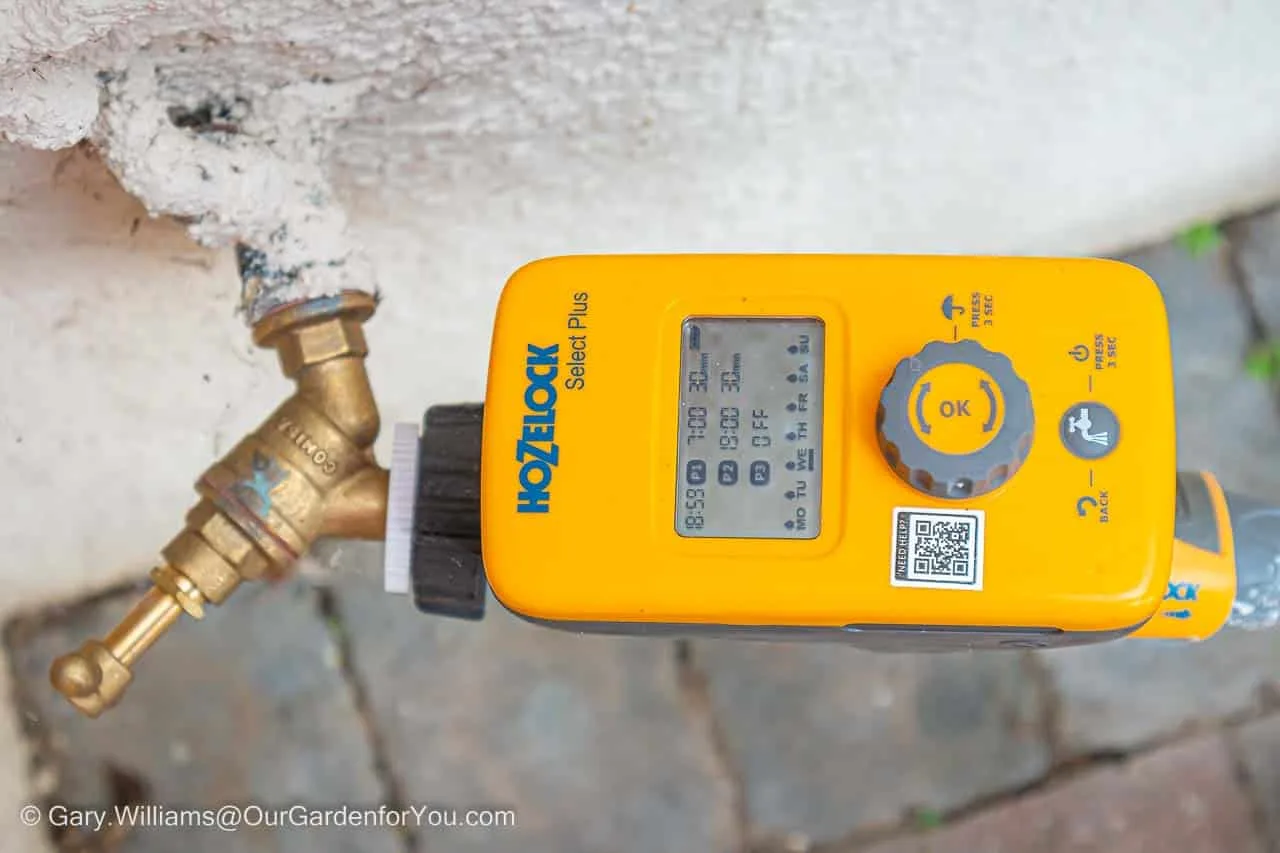
The Tap and Timer
I have the dimension of the Courtyard Patio, around 7m x 5m or 23' x 16' 5" in old money. So the 25m Supply Hose should do the trick to surround the patio discreetly.
I have around fifty containers I want to water, plus I also want to supply water to the cold frame to keep the plants we've shifted out of the conservatory well watered.
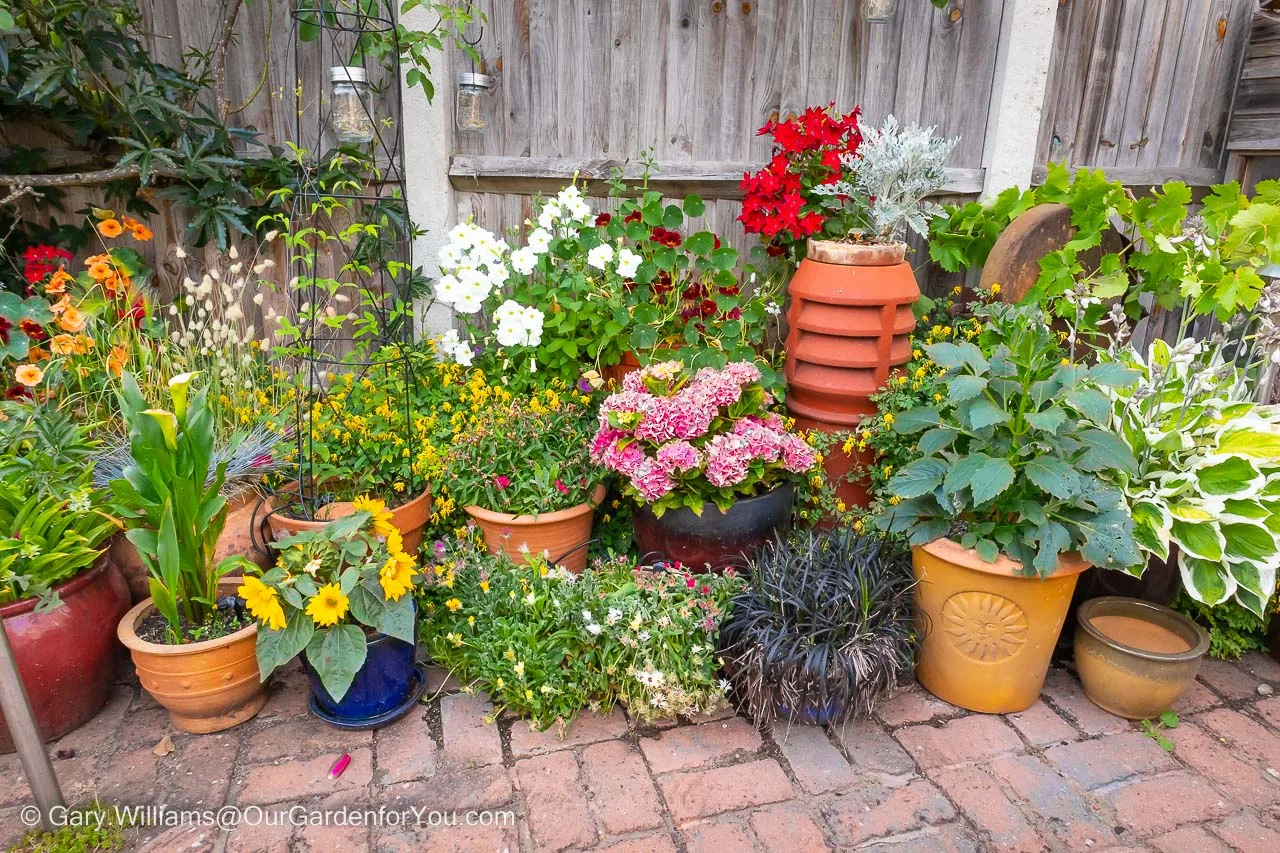
Our courtyard patio plants
At this point, I should have measured out the micro tube's individual runs to understand how much I would need - It turns out it is a lot more than you think.
The most practical way would have been with a ball of string and create the mini loops you need to cover; instead, I used the guess and hope method, which meant I made a new friend in my amazon delivery driver. I did mention this was a rush job.
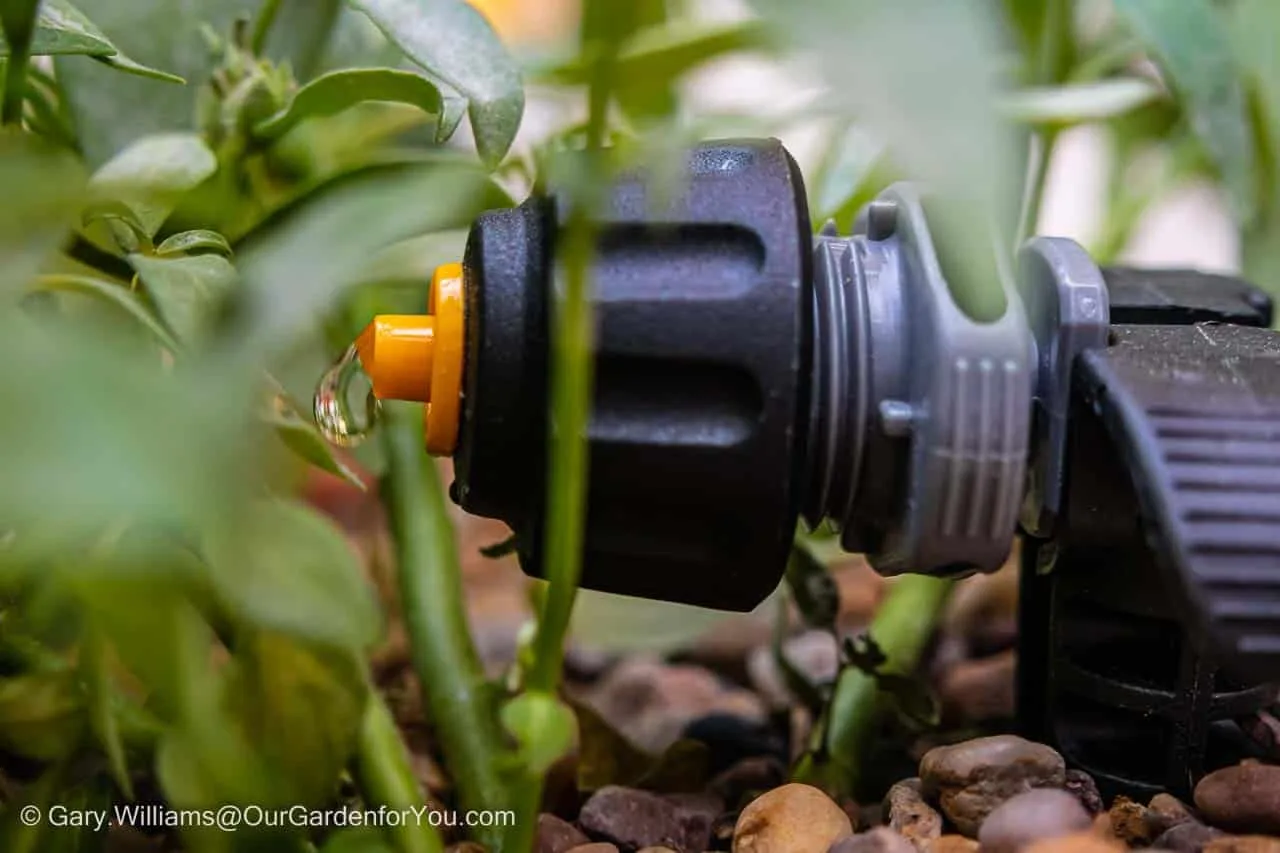
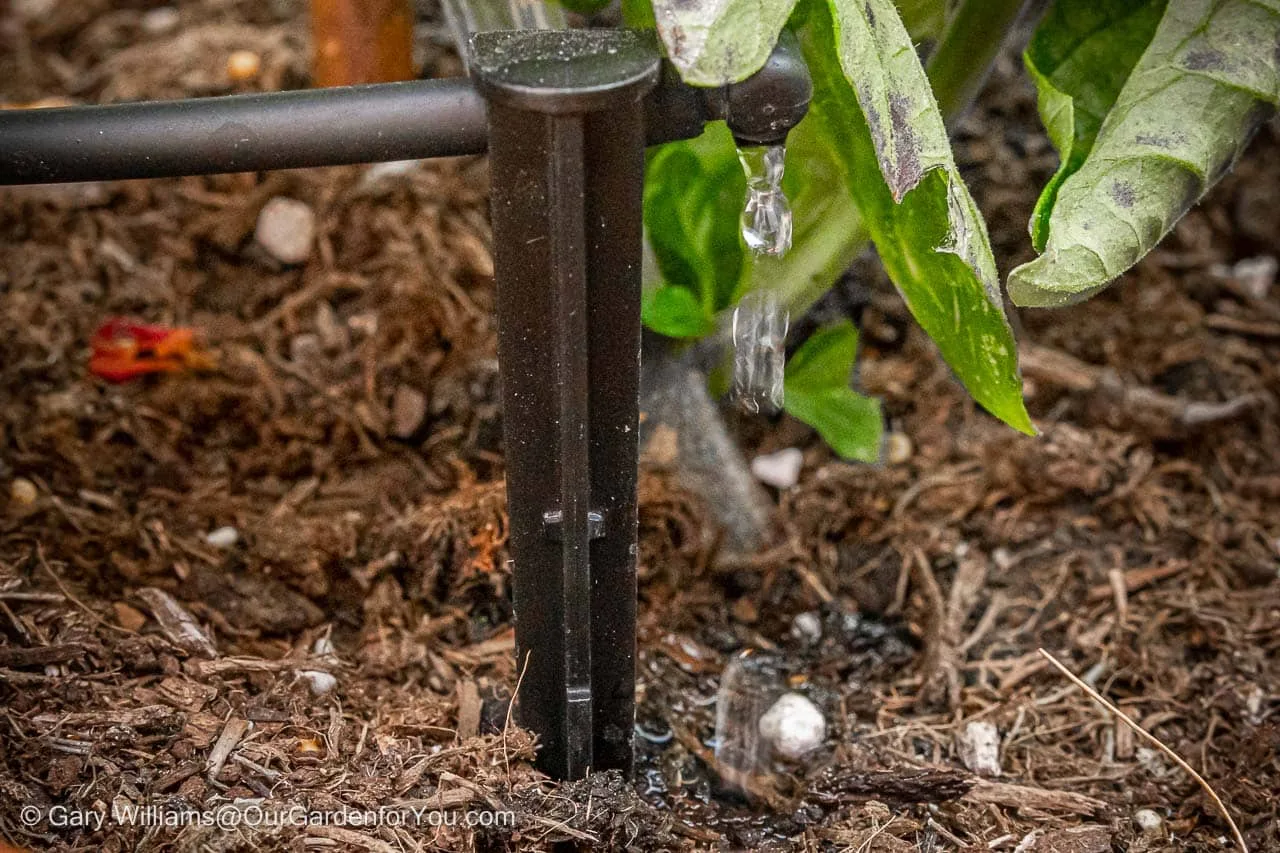
A discreet dripper
The final part of the equation was the supply of water to each location. This is where the drippers and sprinklers come in, and you have plenty of choices. Even though I had a jar full of goodies from the previous installation, I would need more. I opted for an adjustable drip feed that could supply up to 10 litres per hour. Some containers would require more than others.
What is needed for a home irrigation system
A simple checklistI know I can waffle a bit, so here's a plain and simple list;
- External Water Supply
- Timer *
- Pressure Regulator
- 13mm Supply Tube
- Elbow and T-Connectors*
- 13 mm End Cap/Terminator
- Straight connectors to feed the micro tubes
- 4mm Micro Tube
- 4mm connectors
- Drippers, sprinklers & stakes
* There are many different timers; get one that works best for your needs. I opted for the Hozelock Select Plus Water Timer as a flexible option that allowed you to set up to 3 timed feeds a day of adjustable duration. Some other features also looked quite useful.
Installing your automatic watering system
It is surprisingly easy.Well, it sort of was for me. Although, to be fair, the experience was not profanity-free.
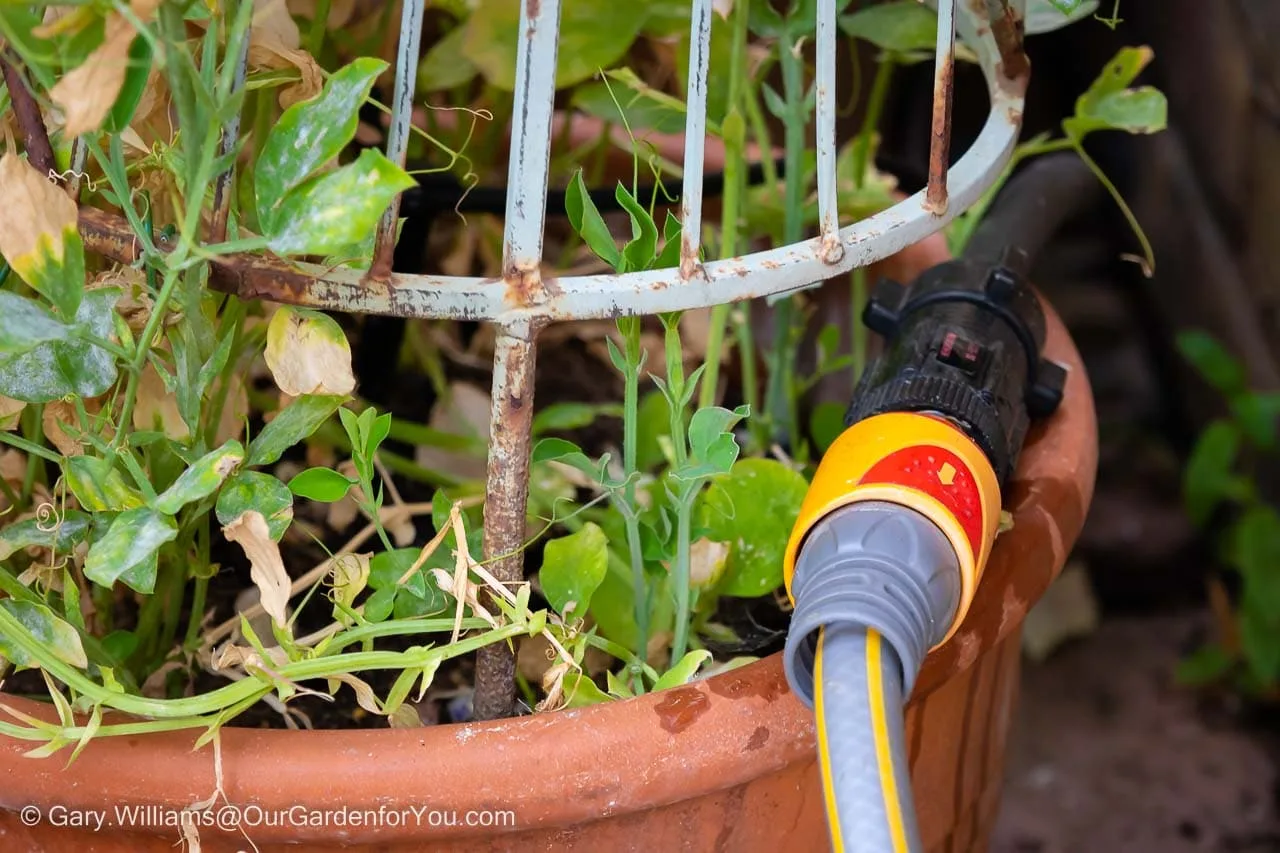
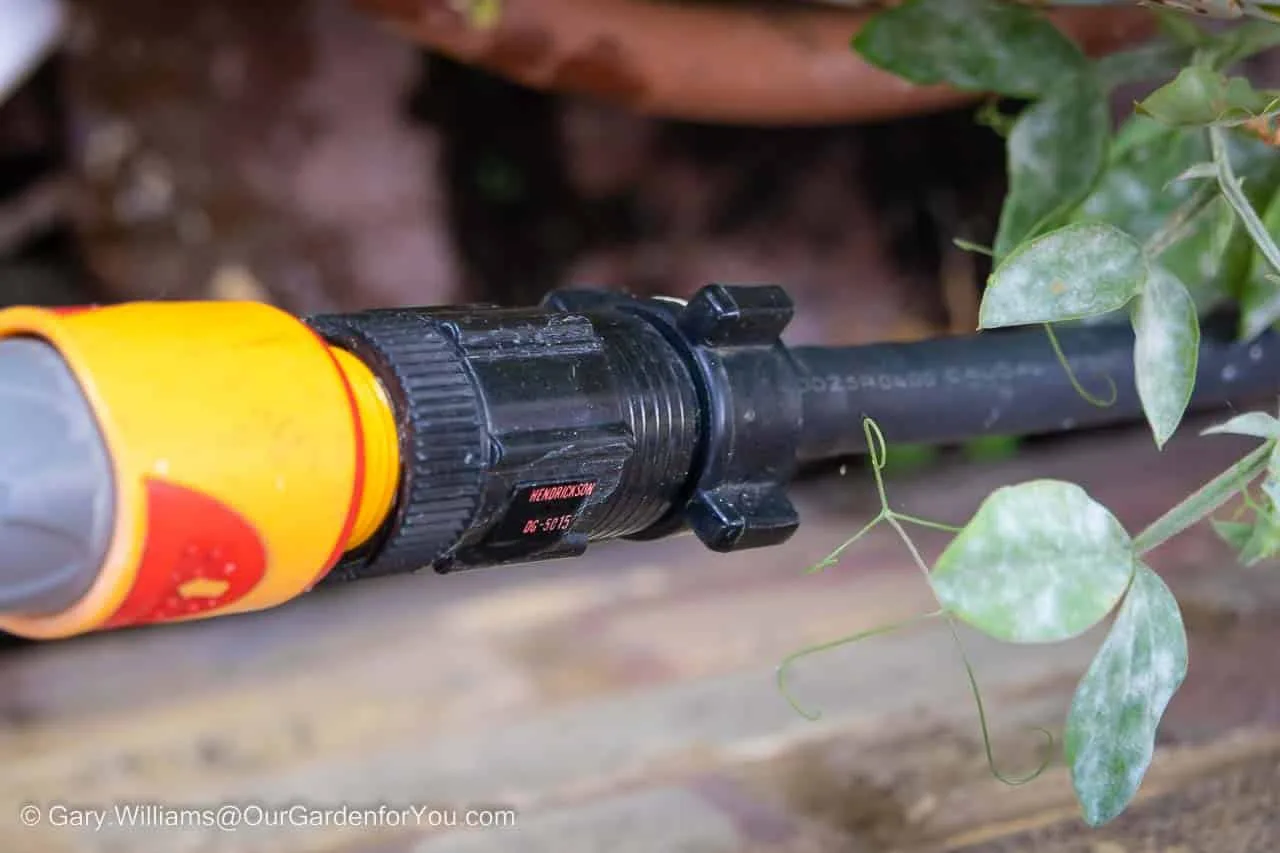
The Hosepipe to Supply Feed
My plan was to start the supply tube run on the patio, and connect our existing hose system to it. To be honest, it was a bit makeshift.
The supply hose, as mentioned, was 25m. I wanted to make 2 90° turns but I could loop around the herb garden to almost create a loop. At the end of the run you need to terminate the run, that's as simple as folding the pipe over and holding it in place with an End Plug. Now I have my master feed in place.
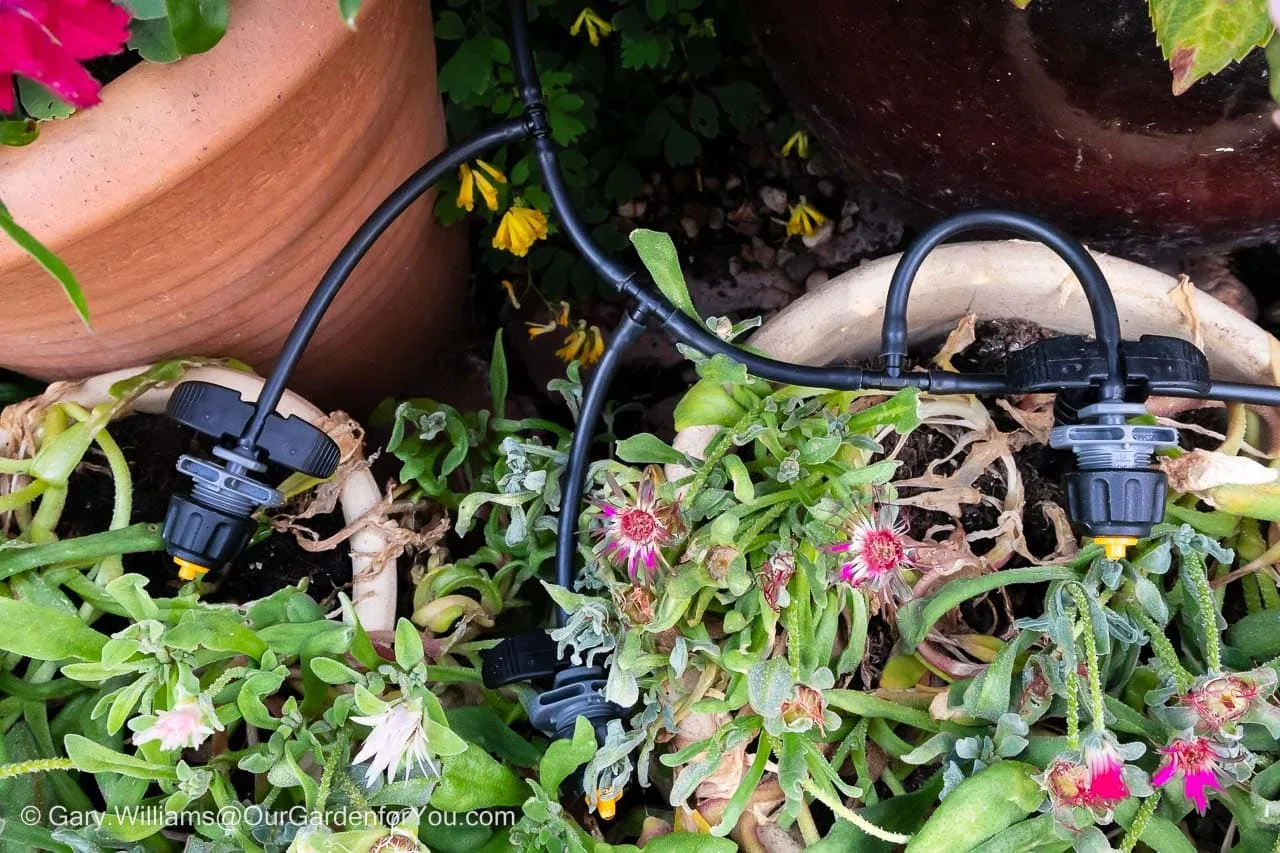
A micro-supply feed
I am now going to tap this feed with a series of smaller loops to feed a collection of pots. You need to think about how many watering points you want on your loop, and how many 'taps' you want to make into the main feed. Also, think about how you may want to move pots around at a later date, you need a bit of flexibility in your configuration.
Testing your automatic watering system
A bit of trial and errorWe set up two events on the timer, one in the morning and one in the evening. The 7:00am watering lasted for 15 minutes, and the evening session at 7:00pm for 30 minutes.
You know not all plants need the same amount of water. Our tomatoes are thirsty, happy to take on a litre of water in a sitting, but the trays in the cold frame less so, 500ml maximum really. Getting your flow rates right will take a few days.
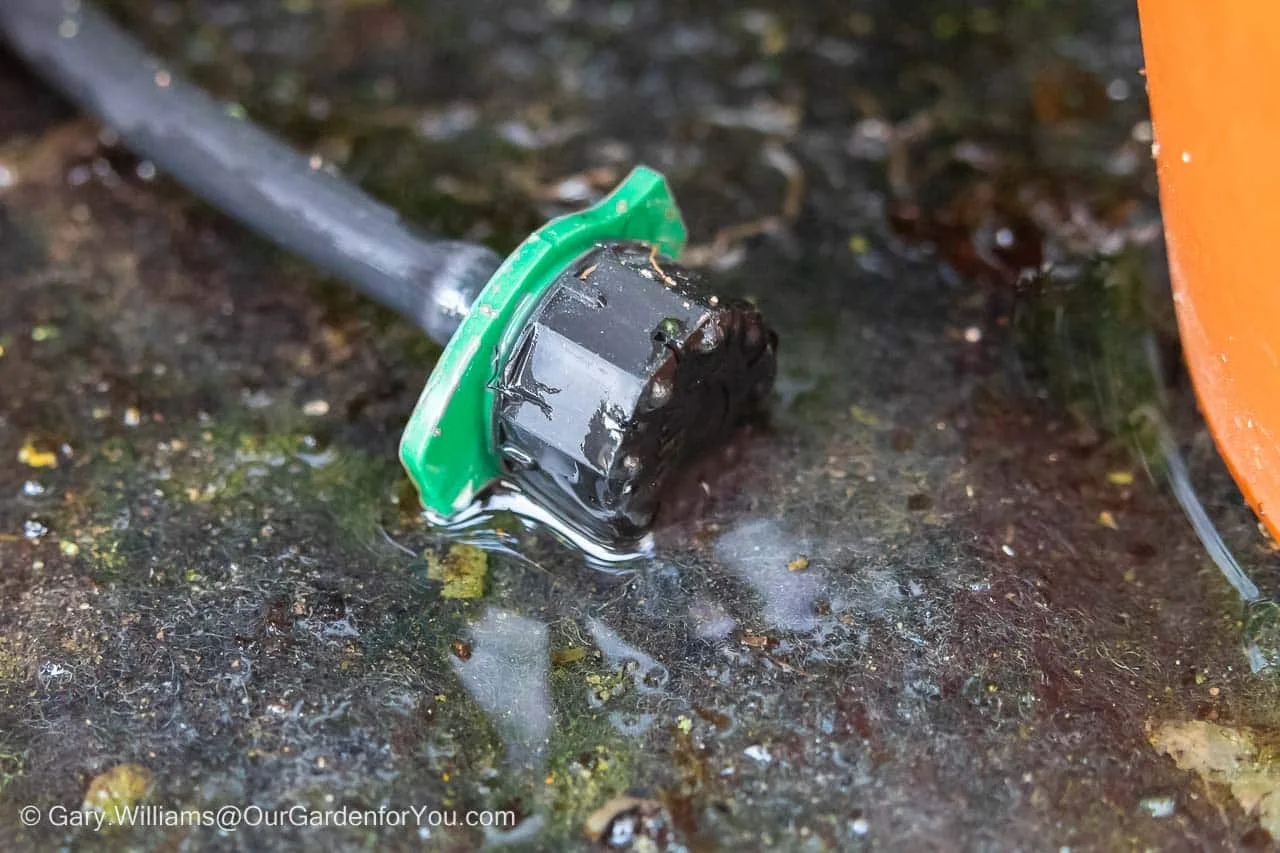
Fixed flow dripper
I prefer not to waste a valuable resource like water, so tuning the system with your drippers & sprinklers will become a fine art, and it won't be long before you have mastered the flow.
Does an automatic watering system work?
Well in our experience, yesTo be honest, we were only away three nights, but it worked. We came back, and everything looked as good as when we left, actually a little fuller.
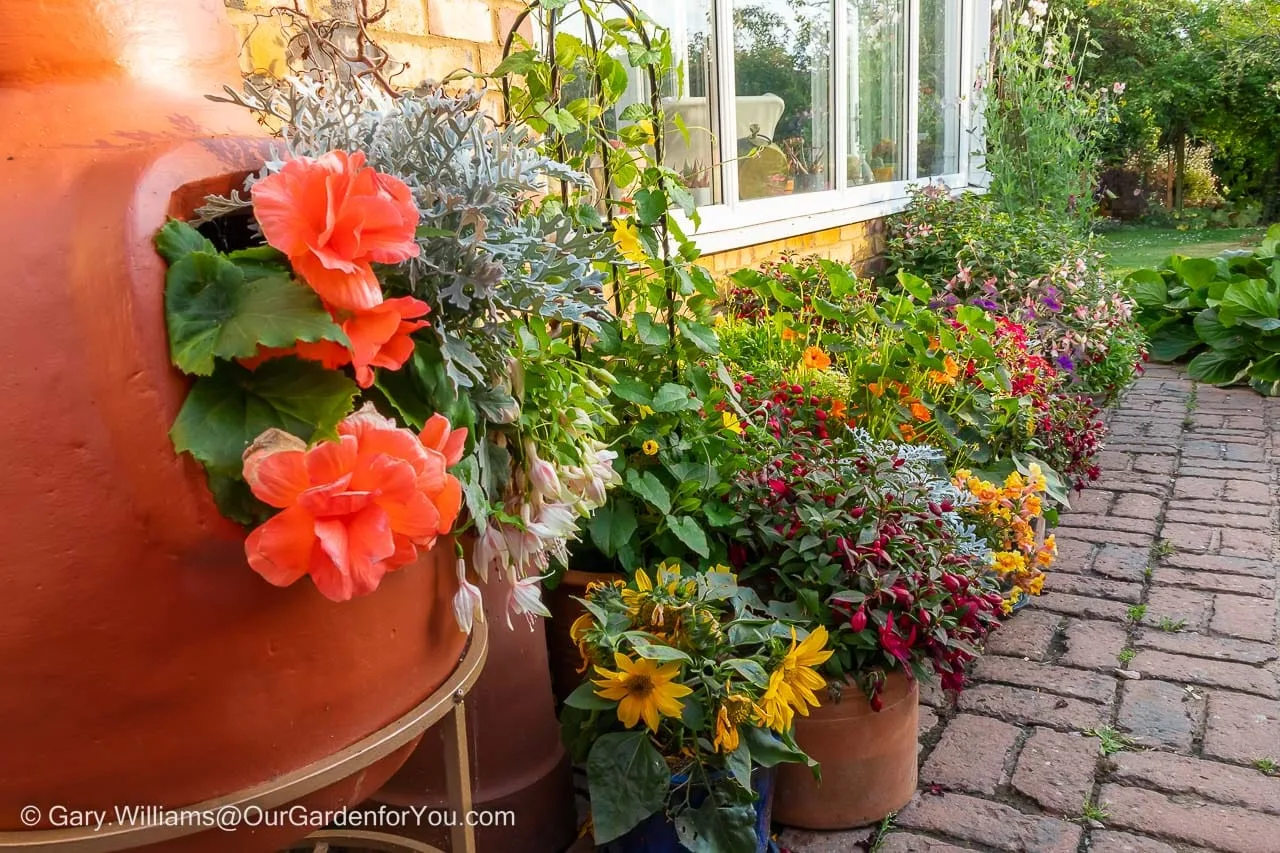
The well-watered patio plants
How would it fare with a two-week break? Well, we have left the system running to simulate that. Again, the results are impressive. However, with an extended heatwave in the UK, and zero rainfall, we have upped the duration of the 7:00am timer to 30 minutes.
How much does a home irrigation system cost?
Well I will share our costsWe have covered a 7m by 5m patio area, feeding just over 50 pots, and this is the breakdown of the costs;
Item | |||
Hozelock Select Plus timer | 1 | £ 67.54 | £ 67.54 |
Hozelock Pressure Reducer | 1 | £ - | £ - |
Hozelock Supply Hose 25m | 1 | £ 28.65 | £ 28.65 |
Hozelock 90 Degree Elbow Connector | 1 | £ - | £ - |
Straight Connector (x10) | 3 | £ 2.19 | £ 6.57 |
Hozelock Micro Tube, 10m | 3 | £ 10.49 | £ 31.47 |
Universal Barbed Tee Fittings | 1 | £ 5.99 | £ 5.99 |
Hozelock Easy Drip Micro Dripper (x 10) | 5 | £ 14.99 | £ 74.95 |
Total | £ 215.17 |
* Where the cost is zero, I have reused components I have from the last installation.
I certainly could have made some cost savings in places, and I did opt for convenience with ordering through Amazon, being a Prime subscriber.
It may have taken more than one bite of the cherry to get the order correct - okay it did, I confess!
Watering a soak matt
Still, this is a one-off investment, and I don't need to replace any plants on the patio due to a lack of watering. There will be further cost as I need to extend the supply hose back, around the conservatory, to the tap to tidy things up. I may need some more drippers - always good to have some spares.
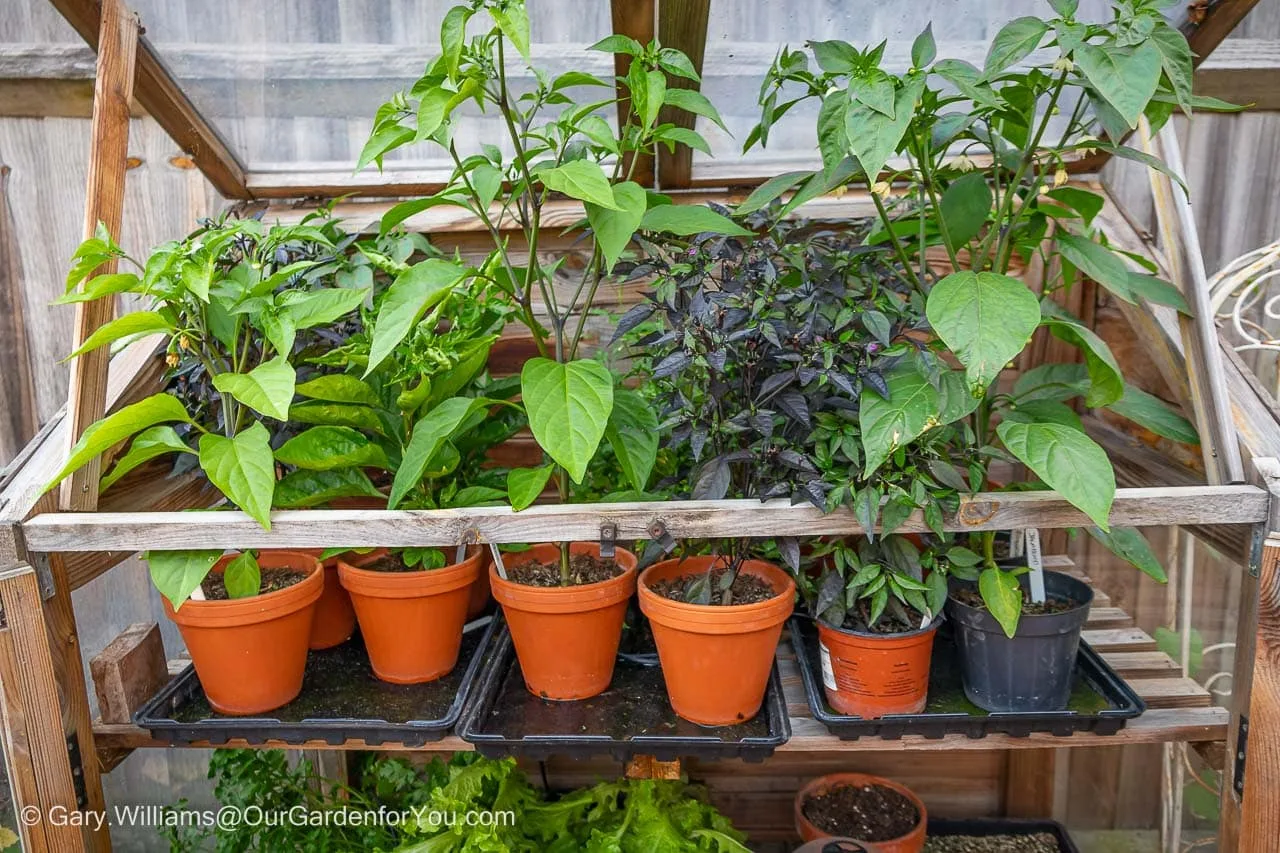
Thriving chillies


Is a Home Irrigation system worth it?
In our mind, it gets a big thumbs upSo we found it simple to install, simple to set up with a bit of trial and error and easy to maintain - so far. We will remove the timer at the end of the summer (not sure it will like being outside in the winter months.)
Still thriving
And have we left it on since returning from our trip? Well, yes, Once configured properly, there was very little waste, less than if we watered by hand. And the water collected in the waterbutt on the patio? Well, that still gets used to fill the birdbath and add water to plants in the garden where needed.
Have you installed an irrigation system? what have your experiences been? We would love to know; please leave us a comment below.
* This post may contain links to affiliated sites where we earn a small commission at no additional charge to you.