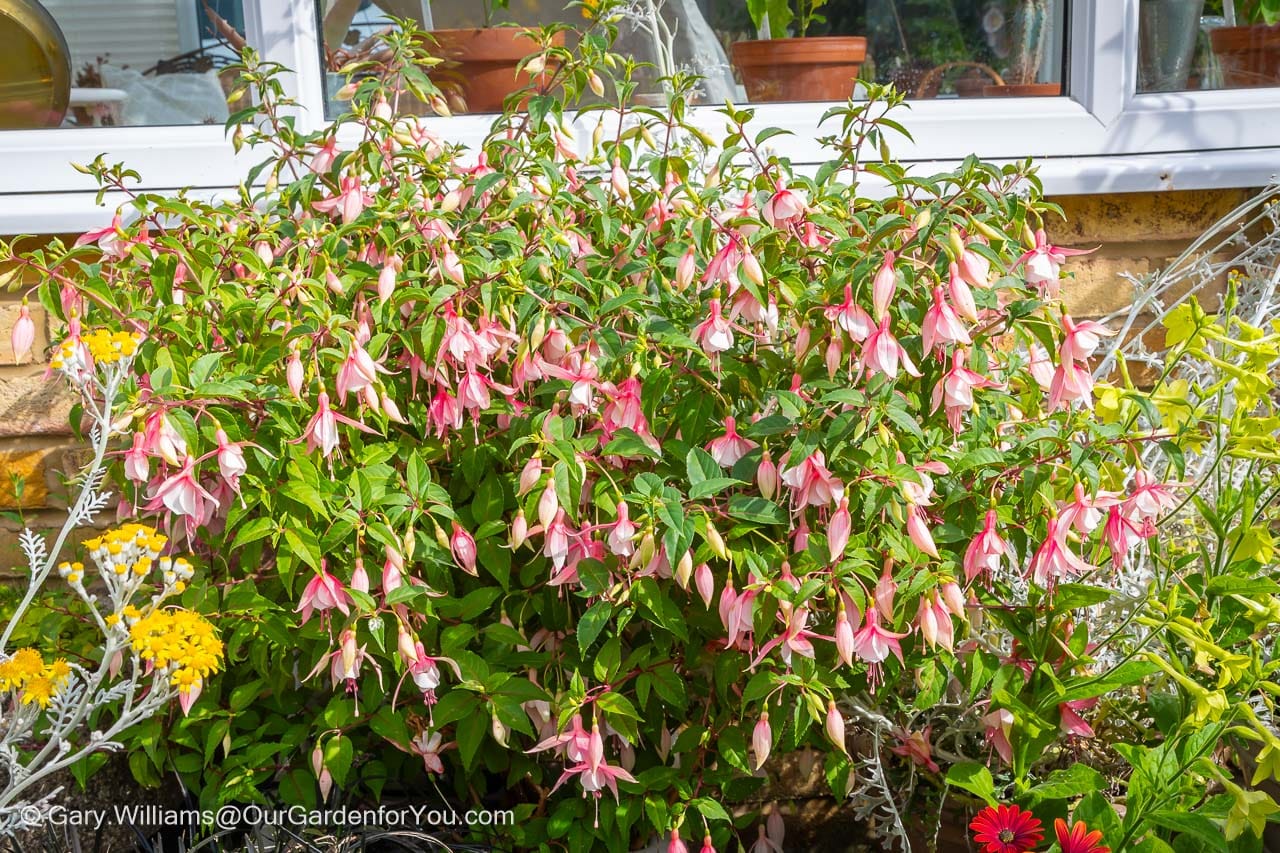
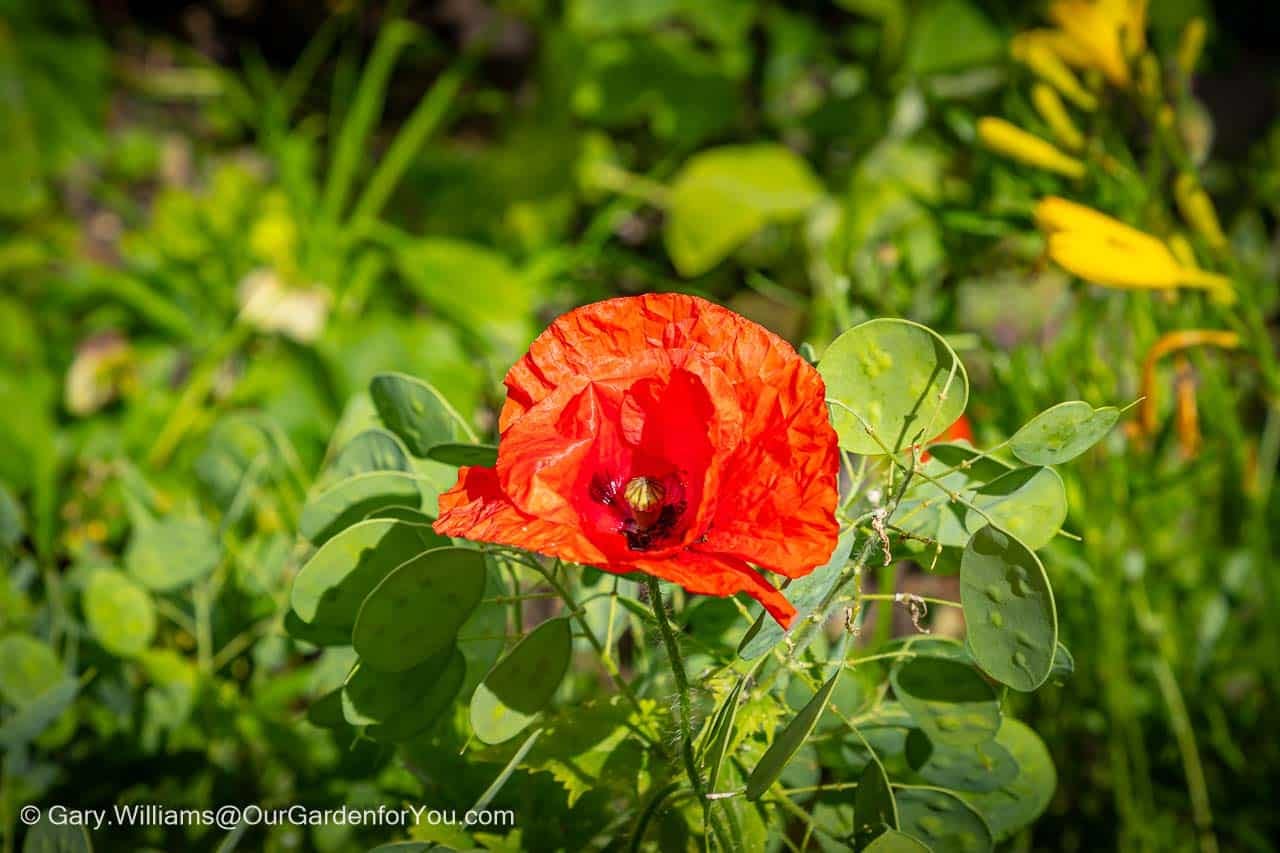
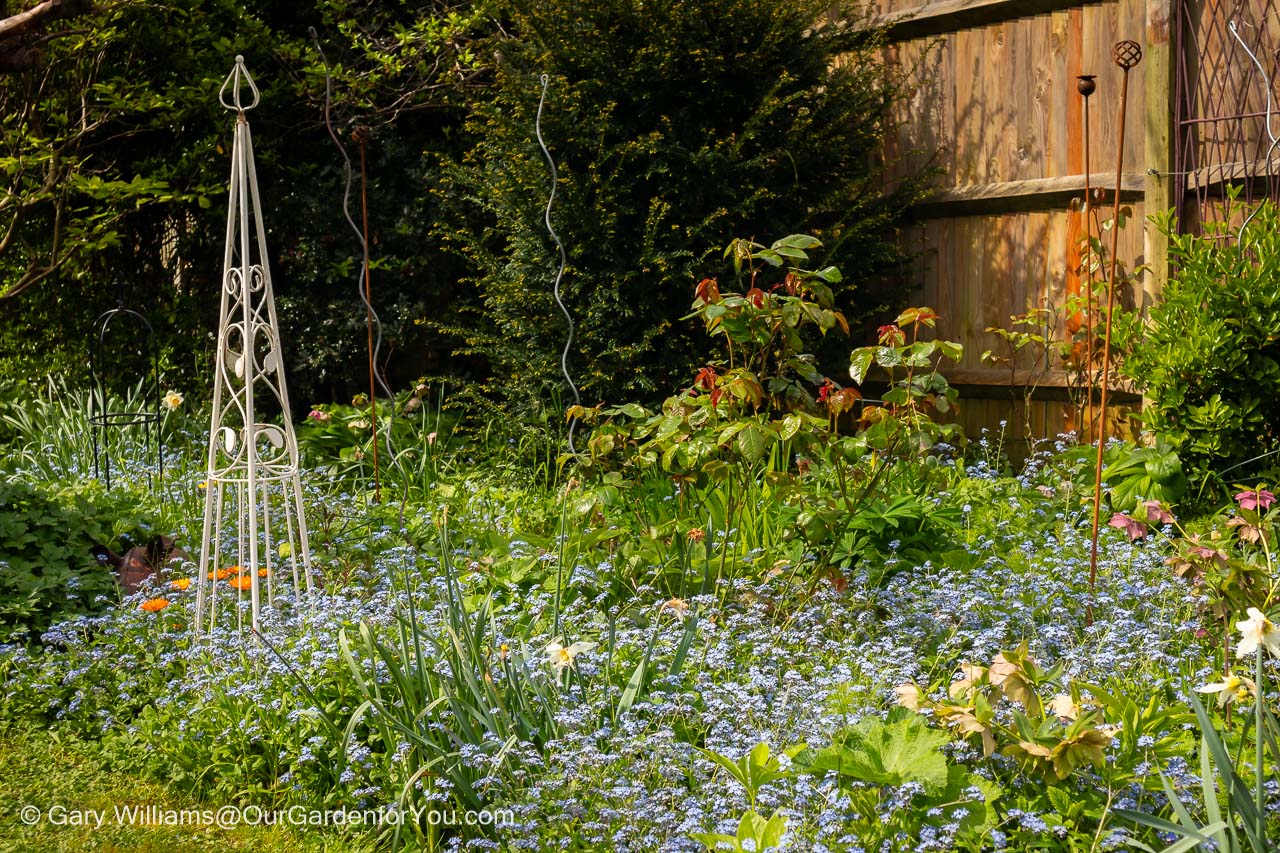
It’s not just the bees that love lavender
If there is one region of France I would return to year after year, then unquestionably, it would be Provence. Especially the picturesque town of Saint Rémy de Provence.
Gary and I have visited in late summer and early autumn on many occasions. This beautiful area of France is a true delight for the senses.
Strolling amongst the olive groves, watching the Cypress trees swaying in the breeze, sharing a board of French cheeses, and savouring a glass of Provencal rosé wine.
And of course, the beautiful flowers that are so synonymous with southern France, the lavender, and sunflowers. It doesn’t get much better.
I have a confession here; we haven’t actually seen the rows and rows of purple lavender globes in full bloom in France. We tend to visit later in the year after they have reached their peak; however, we have witnessed fields of bobbing sunflowers.
Pinterest?
Location of the border
A constant reminder of FranceNow, back to our little slice of Provence.
We have planted a border of lavender before, but unfortunately due to my lack of maintenance, potentially purchasing the wrong variety and other encroaching plant life, the fragrant lavender border became woody and slightly overgrown.
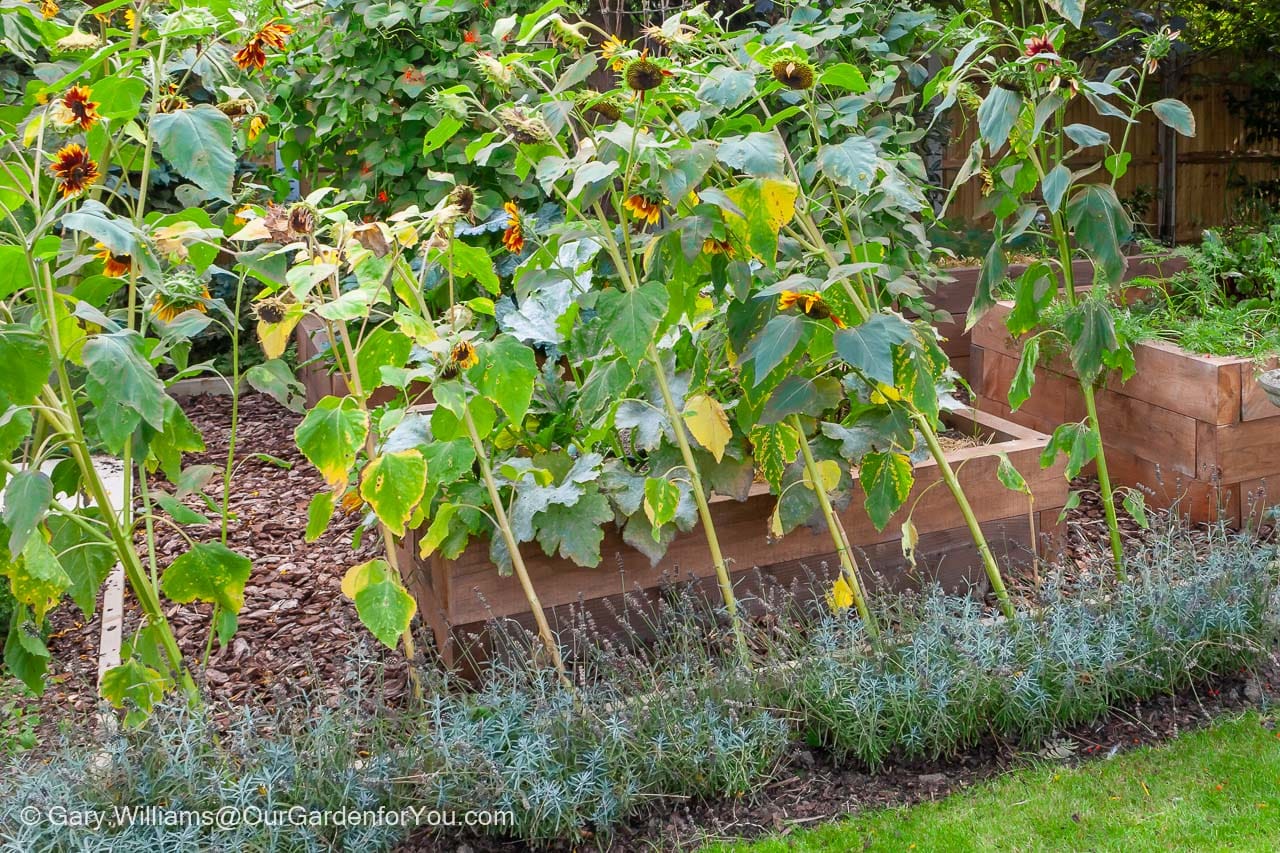
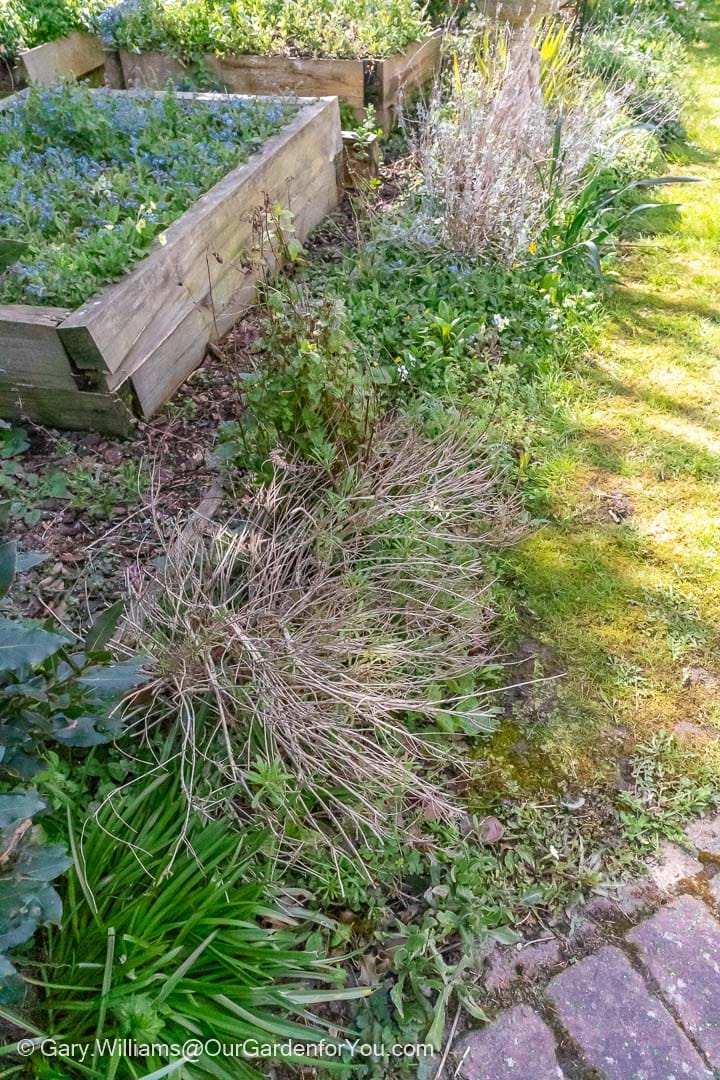
Choosing the perfect lavender
Will it be French, English, Spanish or Portuguese?My first task was to choose the correct variety of lavender and believe me, there are quite a few to choose from. Was it going to be French, English, Spanish or Portuguese and the colour, should I go for violet-blue, blue-purple, blue or white-pink and will it be fragrant?
I didn’t want the lavender to grow too big, and I needed it to be compact. Also, I wanted it to have spikes of highly fragrant purple flowers that would attract me and the wildlife.
So, after reading a few websites and articles, we decided upon Lavender ‘Munstead’. Which is a small evergreen English Lavender with aromatic foliage and dense spikes of blue flowers. The ‘Munstead’ grows to a height and spread of 60x60cm (24x24in).
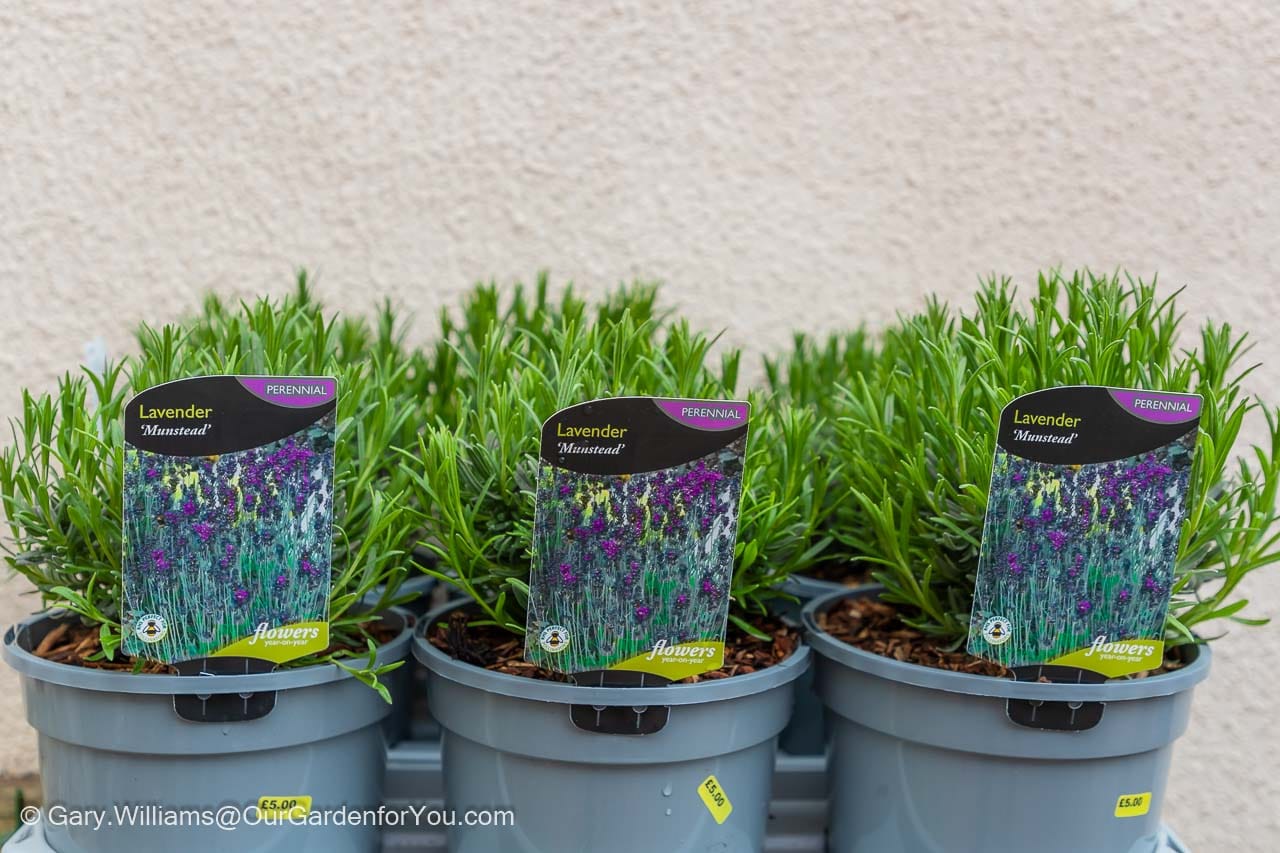
Initially, I was going to purchase them in module form, which keeps the cost down. J. Parker’s were selling these very reasonable. However, I wanted to ensure that they were partially established and all of a similar size, as I was purchasing six.
After some deliberation and keeping an eye out for them on our many trips to garden centres and nurseries. We found the perfect specimen of Lavender ‘Munstead’ at Wood Cottage Nursery. At only £5 per 2-litre pot, we purchased six. So, it is one of the many jobs for this weekend.
Preparing and clearing the lavender border
Slowly, slowly is the keyOur next job was to prepare the bed.
We needed to prune and re-home the two lavenders that remained in our lavender border for this to be completed properly. Also, it was a matter of clearing the weeds and re-planting any other flowers that have been established and that we want to keep.
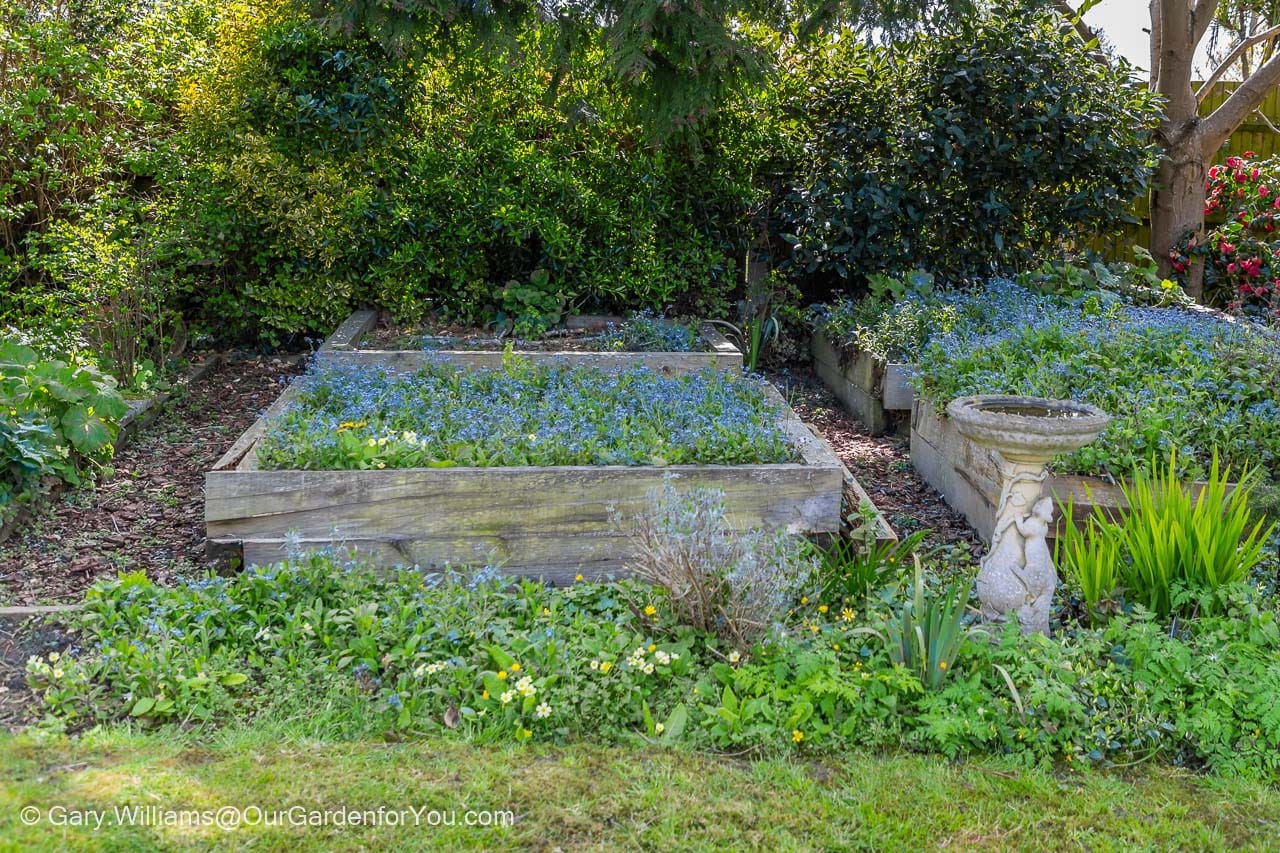
I must admit this task wasn’t too difficult compared to the others we have planned. However, I didn’t want to be too aggressive when unearthing the plants that were just peeping through the ground. It was spring after all, and some were only just appearing.
It went quite well; Gary and I only had a couple of disagreements. We discovered a lonely Lily, some crocosmia, bluebells, plenty of weeds, some unruly mint; the job was done.
Planning and planting your lavender
Mulching and suppressing weedsIt was now time to measure the border and evenly lay out our six new Lavender ‘Munstead’. Once we’d agreed on their positioning, I watered the plants and let them drain off and, Gary had the task of digging the six holes.
Kneeling pad to the ready, our little blue globes of Provence were going in. They are lovely specimens, so they instantly looked delightful after a bit of tweaking here and there.
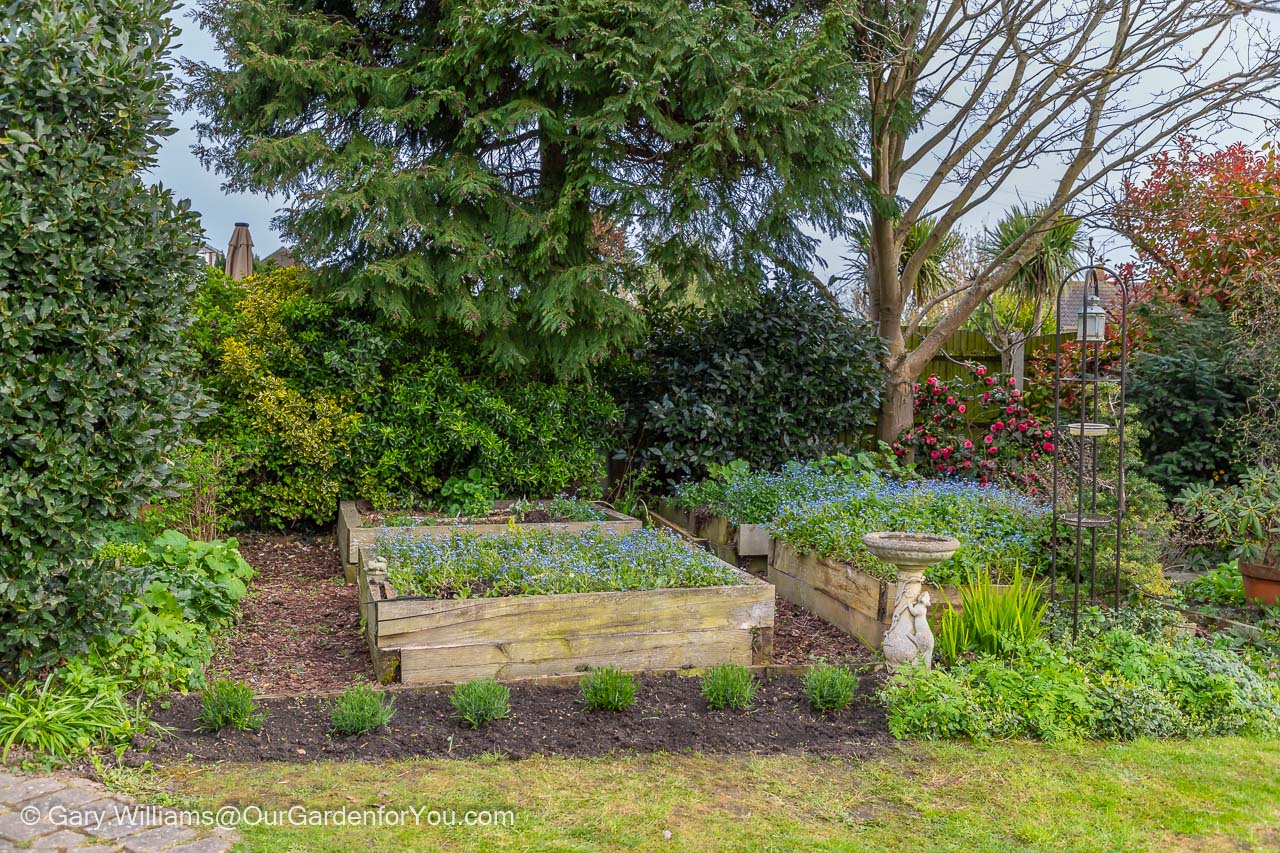
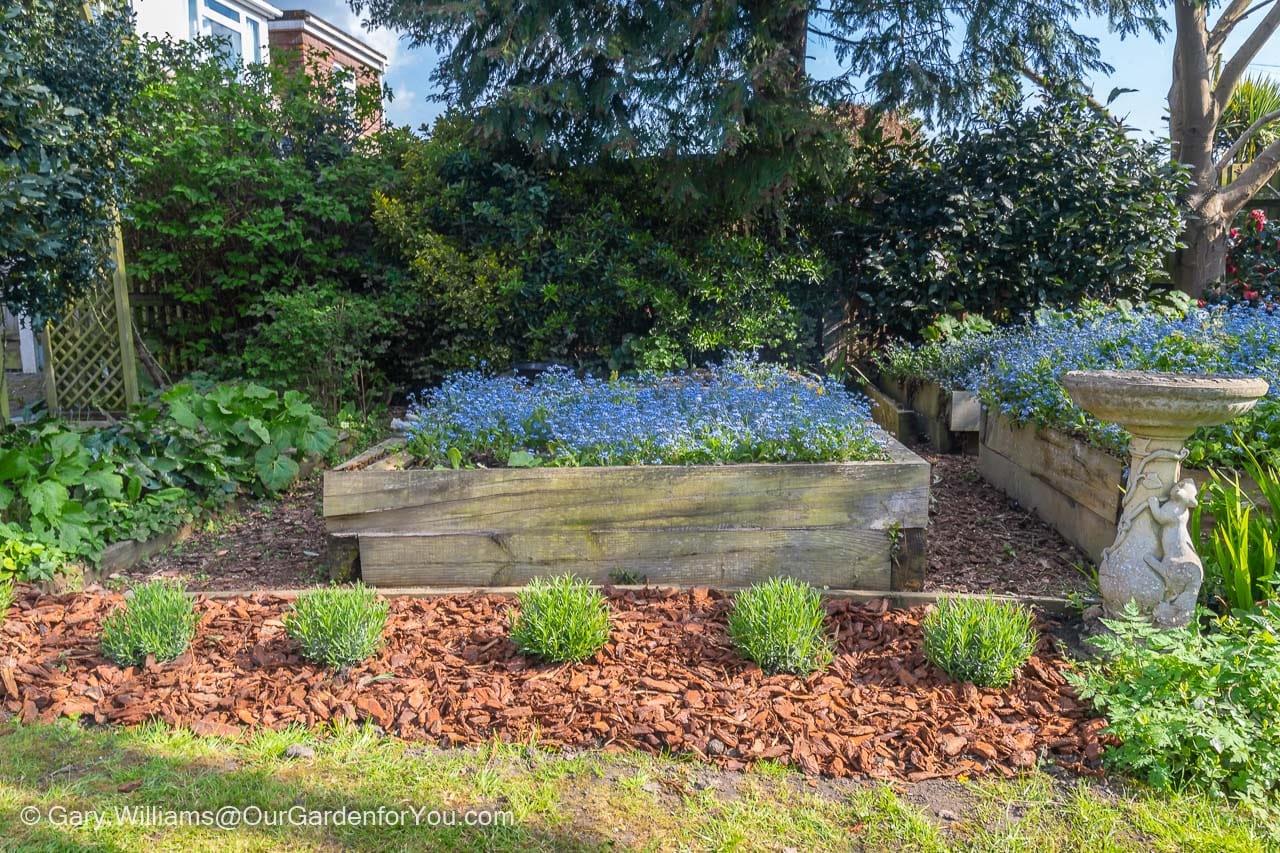
To complete the finishing touch, we wanted to add a mulch to suppress the weeds and show the Lavender ‘Munstead’ off to its full.
We decided on some premium bark chippings. Be careful with the ones you choose, as some of the options are not as robust as others.
Not only did we want to exhibit the lavender to their desired potential, but we also wanted to the bark to last and not be pinched by the local nesting birds.
* This post may contain links to affiliated sites where we earn a small commission at no additional charge to you.
